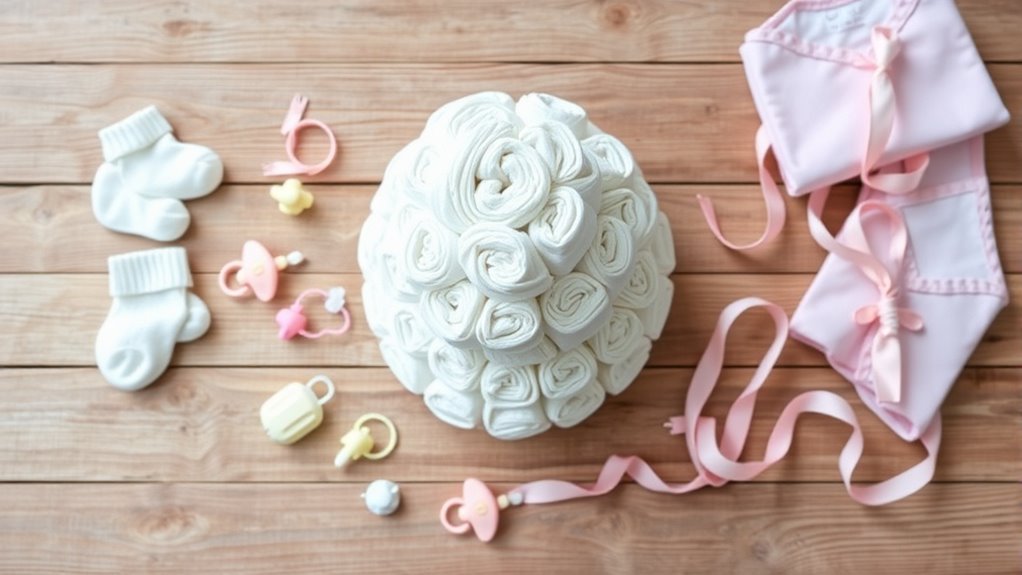
How to Make a Diaper Cake for Baby Shower in 7 Easy Steps
To make a diaper cake for a baby shower, start by gathering all the essentials like diapers, a sturdy base, and a center support such as a paper towel tube. These items will form the foundation of your diaper cake, making it both functional and beautiful.
Next, roll each diaper tightly and secure it with rubber bands. This step is key because it helps your diaper cake hold its shape.
Arrange the rolled diapers into three tiers, beginning with the largest layer at the bottom. It’s easier to build from the ground up, and this creates a stable structure.
Use ribbon or twine to hold each tier together securely. This not only keeps everything in place but also adds a decorative touch.
Finally, decorate your diaper cake with ribbons and baby gifts that match your chosen theme.
Keep reading to discover tips for creating a stable, stunning diaper cake design that will wow everyone at the baby shower!
Key Takeaways
- Gather size 1 and size 2 diapers, a sturdy base, central support, rubber bands, and matching fabric for setup.
- Roll diapers tightly and secure with rubber bands. You’ll want to plan for about 50 to 64 rolls to make a three-tier cake.
- Assemble the tiers by arranging rolled diapers in triangular and circular patterns. Make sure everything feels stable and balanced.
- Wrap each tier with decorative ribbons or twine. This helps keep the layers secure and makes the cake look even cuter.
- Decorate with baby gifts and artificial flowers. Just be careful to secure them well without messing up the diapers’ usability.
Get Your Diaper Cake Supplies Ready
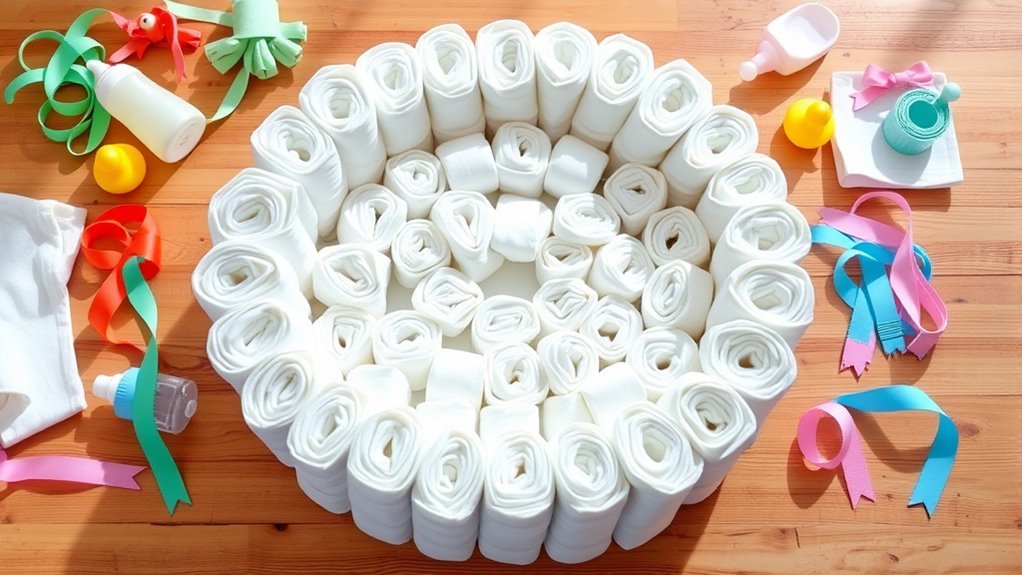
To make a diaper cake, start by gathering your essential supplies: size 1 and size 2 diapers, a sturdy cardboard base about 14 inches in diameter, and a central support like a paper towel tube or a large lotion bottle. You’ll also need rubber bands to secure rolled diapers neatly.
The supplies you need include decorative items like ribbons, twine, artificial flowers, and baby-themed accessories to personalize your cake. Prepare a hot glue gun to attach decorations and keep layers secure without damaging the diapers.
Consider adding a surprise element, such as a bottle of wine or sparkling cider, to make your diaper cake both memorable and functional. Having all these supplies ready guarantees a smooth and enjoyable crafting process.
Set Up the Base and Center Tube Support
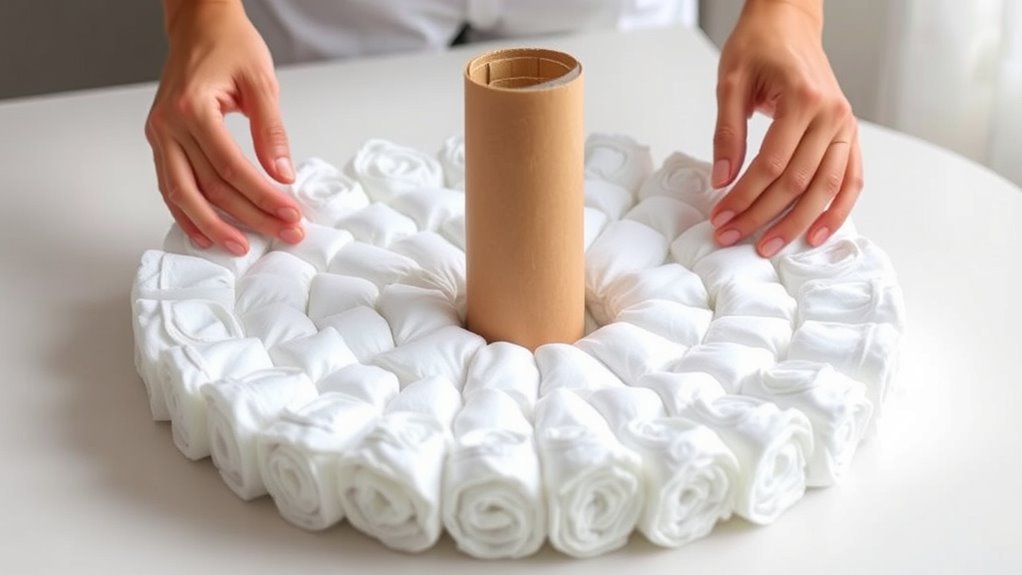
Begin by cutting a 14-inch diameter circle from thick cardboard to create a sturdy base for your diaper cake. This cardboard base will support the entire structure, so make sure it’s firm and flat.
Next, choose your center support—either a paper towel tube or a large lotion bottle works well. Attach this center support firmly to the cardboard base using double-sided tape or a strong adhesive. This step is essential to keep the center support upright and stable.
For a polished look, cover the cardboard base with a scrap fabric that matches your baby shower theme. With a solid base and a secure center support in place, you’re ready to build layers without worrying about your diaper cake collapsing.
Roll and Secure Diapers for Your Diaper Cake
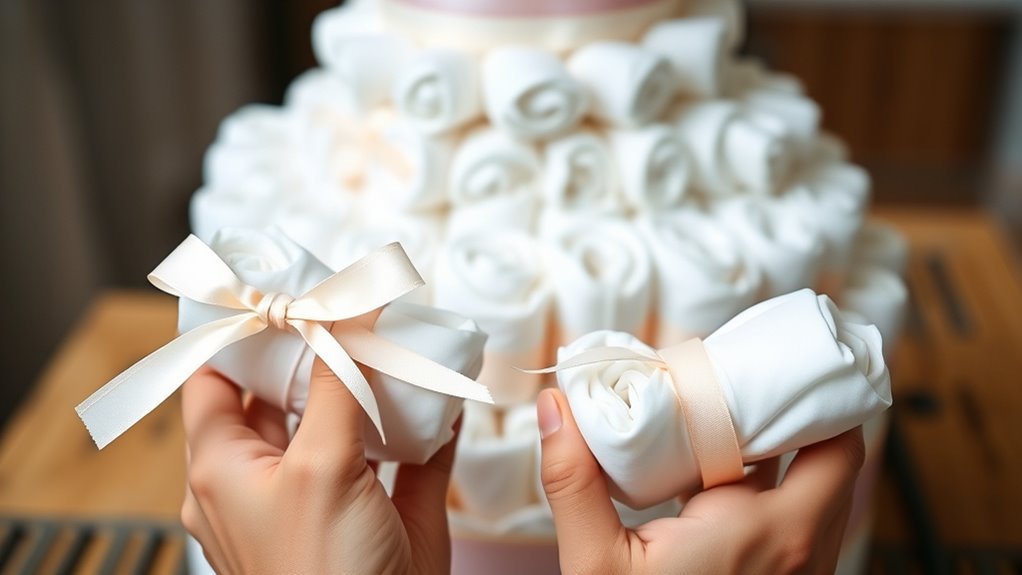
Start by rolling each diaper tightly from the waistband edge to the open end, securing it with a rubber band to keep its shape. This step is essential for stability and a neat appearance.
Make sure each roll is uniform in size to make assembly easier later on. If you’re making a three-tier diaper cake, plan to roll about 50 to 64 diapers, adjusting the number for each tier.
For comfort and efficiency, sit in a relaxed spot while rolling, especially if handling many diapers. Using size 1 diapers for the top tier and size 2 for the bottom can help balance the cake visually and structurally.
Keep your rubber bands handy—they’re key to holding each diaper roll securely in place.
Arrange the Bottom Tier of Your Diaper Cake
Arrange about 15 to 20 rolled size 1 diapers into a stable base for the bottom tier of your diaper cake. Start by placing three rolled diapers in a triangle formation, then surround them with more rolled diapers to form a circle.
This creates a solid bottom layer that supports the entire cake. Adjust the number of diapers for a diaper as needed to achieve your desired size, typically between 36 and 45 diapers for this layer.
Secure the bottom tier by wrapping twine or ribbon around it, hiding the rubber bands used to hold the rolled diapers together. Finally, set the completed bottom layer on a sturdy cardboard circle or tray to keep it stable and ready for the next steps in building your diaper cake.
Build and Stack the Middle and Top Tiers of the Diaper Cake
Now it’s time to build the middle tier by rolling about 36 diapers and arranging them in a secure circle.
Next, roll 15 diapers for the top tier and carefully place it on the middle layer.
Make sure each tier is tightly secured so your diaper cake stays balanced and sturdy.
Middle Tier Assembly
To build the middle tier, roll about 36 size 1 diapers tightly and position them in a circular pattern around the cake’s center support. This middle layer forms the heart of your diaper cake, so make certain each diaper is secure and evenly placed.
Adjust the number of diapers if needed to keep the tier stable. Often, arranging them in a triangular structure gives extra support.
Once the middle tier looks balanced, carefully place it on top of the bottom tier. Check that it sits evenly and won’t wobble before securing it in place.
This step is essential because stability guarantees your diaper cake stays intact. Now, you’re ready to add baby items and decorations to enhance the look without compromising the tier’s function or accessibility.
Top Tier Construction
Start by rolling about 15 size 1 diapers tightly and securing each with a rubber band to form the top tier. Roll the diapers carefully to guarantee a neat top layer.
Next, stack this tier gently on the middle tier, aligning it for a balanced look. Use rubber bands to keep the rolls secure, maintaining shape without damaging the diapers.
| Tier | Diapers Rolled | Purpose |
|---|---|---|
| Bottom | Varies | Base stability |
| Middle | ~36 | Supports top layer |
| Top Layer | ~15 | Decorative apex |
| Rubber Bands | Used on all | Secures diaper rolls |
| Arrangement | Circular | Guarantees balance |
This method creates a sturdy, visually pleasing top tier without compromising diaper usability. It’s simple but effective, and your diaper cake will look great!
Ensuring Tier Stability
Although assembling the middle and top tiers requires careful attention, you can guarantee stability by rolling about 16 to 18 diapers for the middle tier and securing them tightly in a circular pattern. Use rubber bands or twine to hold these rolled diapers firmly, ensuring tier stability before placing this tier on the bottom layer.
For the top tier, roll around 8 to 10 diapers and arrange them evenly, making sure they’re securely layered for balance. After stacking, gently shake the cake to check for wobbling; if it’s unstable, tighten the twine or adjust the diapers.
Keeping decorations consistent across tiers not only enhances visual appeal but also supports the structure. Following these steps, your diaper cake will be sturdy and beautifully layered.
Secure Each Diaper Cake Tier With Twine or Ribbon
Choose jute twine or a decorative ribbon that matches your baby shower theme to secure each diaper cake tier firmly. Wrap the twine or ribbon tightly enough to hold the layers together without damaging the diapers, covering any visible rubber bands.
Using multiple ribbon layers can add both stability and a stylish touch to your cake. It’s a simple trick that makes a big difference in how your diaper cake looks and holds together.
Choosing The Right Twine
Selecting the right twine or ribbon plays an essential role in both the stability and appearance of your diaper cake. When choosing twine, pick one that complements the overall theme while providing strong support.
Natural jute twine is a popular choice because of its rustic charm and durability. It’s perfect for securely holding each tier together.
If you prefer a polished look, consider a decorative ribbon made of satin or grosgrain. These add style and color to your creation.
Make certain whatever you choose is thick and strong enough to support the diaper cake’s weight. Wrap the twine or ribbon tightly around each tier and tie a firm knot to keep everything stable and prevent slipping.
This simple step guarantees your diaper cake stays intact and looks fantastic. You’ll be glad you took the time to pick the right twine!
Ribbon Types And Uses
Three popular ribbon types—satin, burlap, and organza—offer unique styles and functions when securing each diaper cake tier. Satin ribbon gives your diaper cake a sleek, elegant look perfect for formal baby shower gifts.
Burlap adds a rustic charm, ideal for vintage-themed cakes. Organza provides a delicate, sheer touch that enhances without overpowering.
You can also mix ribbons to add texture and keep each tier secure.
| Ribbon Type | Style | Best For |
|---|---|---|
| Satin | Smooth, shiny | Elegant baby showers |
| Burlap | Rustic, coarse | Country or vintage theme |
| Organza | Light, sheer | Delicate, subtle décor |
Choosing the right ribbon guarantees your diaper cake looks beautiful and stays firmly in place.
Securing Layers Firmly
Secure each diaper cake tier firmly by wrapping jute twine or decorative ribbon tightly around its base. This step is essential to secure the rolled diapers and prevent the layers from slipping during transport or display.
Wrap the twine or ribbon snugly around each diaper layer, tying it securely to hold everything in place. For a polished look, use multiple ribbon layers to add decoration and conceal any rubber bands holding the diapers together.
Just be careful not to wrap the twine or ribbon too tightly—you want to keep the diapers usable for the new parents. Adjust the tension so the diaper cake stays firm yet visually appealing.
Securing each layer properly guarantees your diaper cake looks great and stays intact throughout the event.
Decorate Your Diaper Cake With Ribbons and Baby Gifts
When you wrap each tier of your diaper cake with ribbons in varying colors and textures, you instantly boost its visual appeal and tie it into the baby shower theme. Choose ribbons that complement the color scheme and vary the textures for a dynamic look.
To decorate further, attach small baby gifts like pacifiers, bibs, or booties using ribbon or a bit of hot glue. These add charm and practicality to your creation.
You can also incorporate artificial flowers or greenery around the tiers for a fresh, vibrant touch. Remember to secure all decorations firmly, ensuring they don’t hinder the diapers’ usability.
And don’t forget—personalize the cake with themed items reflecting the parents’ interests to make it truly special and memorable.
Frequently Asked Questions
What Is the Easiest Diaper Cake to Make?
The easiest diaper cake to make is a two-tier design using about 40 size 1 diapers.
Roll each diaper and secure it with rubber bands. Then, stack them on a sturdy base.
You can keep it simple by decorating with ribbons or adding a few baby items.
It’s a quick and cute option that anyone can put together!
How Many Diapers Does It Take to Make a Diaper Cake?
Think of your diaper cake as a layered fortress; you’ll need about 56 diapers for a three-tier one—32 for the base, 16 for the middle, and 8 for the top.
Adjust counts for size and style. It’s pretty flexible, so feel free to make it your own!
How Many Size 1 Diapers Do I Need for a Diaper Cake?
You’ll need about 38 to 96 size 1 diapers for a diaper cake, depending on the size. Typically, 15 go on the top tier, 36 in the middle, and 45 on the bottom.
This setup gives you a sturdy three-tier design that looks great and holds up well. Just keep in mind, the exact number can vary based on how big or small you want each tier to be.
What Are Some Ideas for Making a Diaper Cake for a Baby Shower?
Try themed cakes with favorite characters or colors, add ribbons and baby items for decoration. Hide a bottle or toy inside for a fun surprise!
Layer size 1 and 2 diapers creatively to add dimension. You’ll impress everyone with your unique touch!
Conclusion
Now that you’ve crafted your diaper cake step by step, you’re ready to wow everyone at the baby shower. With your creativity and careful touch, you’ve turned simple diapers into a stunning centerpiece that’s both practical and charming.
Remember, every cloud has a silver lining—this thoughtful gift not only looks great but also helps new parents in a big way. A diaper cake is more than just decoration; it’s a useful and unique present that shows you care.
So go ahead, put your finishing touches on it and enjoy the smiles it brings! Making a diaper cake is a fun and rewarding way to celebrate the upcoming arrival, blending creativity with practicality in one beautiful baby shower gift.





One Comment