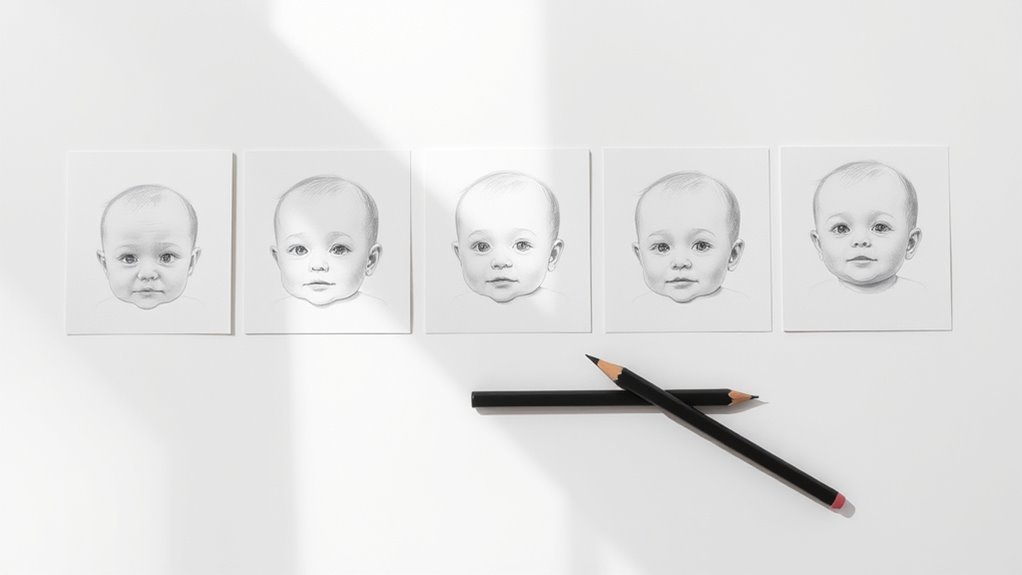
How to Draw a Baby in 7 Easy Steps
To draw a baby in 7 easy steps, start by sketching the face with closed eyes and a pacifier for a peaceful look. This simple beginning sets a calm and sweet tone for your drawing.
Next, outline the soft oval head, adding a small ear and gentle hair details to bring personality to your baby.
Then, add arms under the head and draw the rounded body with simple legs and a puffy diaper. This helps create that adorable, chubby baby shape everyone loves.
Create a cozy bed beneath, making your little one look snug and comfortable. Finish with a heart above for warmth and affection.
Use soft colors and clean outlines to bring your baby to life. Keep going to discover how to perfect each detail effortlessly.
Trust me, with these easy steps, you’ll have a charming baby drawing in no time!
Key Takeaways
- Start by sketching a soft oval head with closed eyes and a delicate nose for a peaceful baby face.
- Add a small rounded ear and light, wavy hair lines to give natural texture and proportion.
- Draw the baby’s body with a rounded shape, simple cylindrical legs, and a puffy diaper for realism.
- Position arms and hands gently under the head to enhance the serene and relaxed pose.
- Finish by outlining the baby on a rectangular bed with a blanket. Add a heart symbol, and use light colors.
Easy, right? Just take it step by step, and you’ll have a cute baby drawing in no time!
Draw the Baby’s Face With Closed Eyes and Pacifier
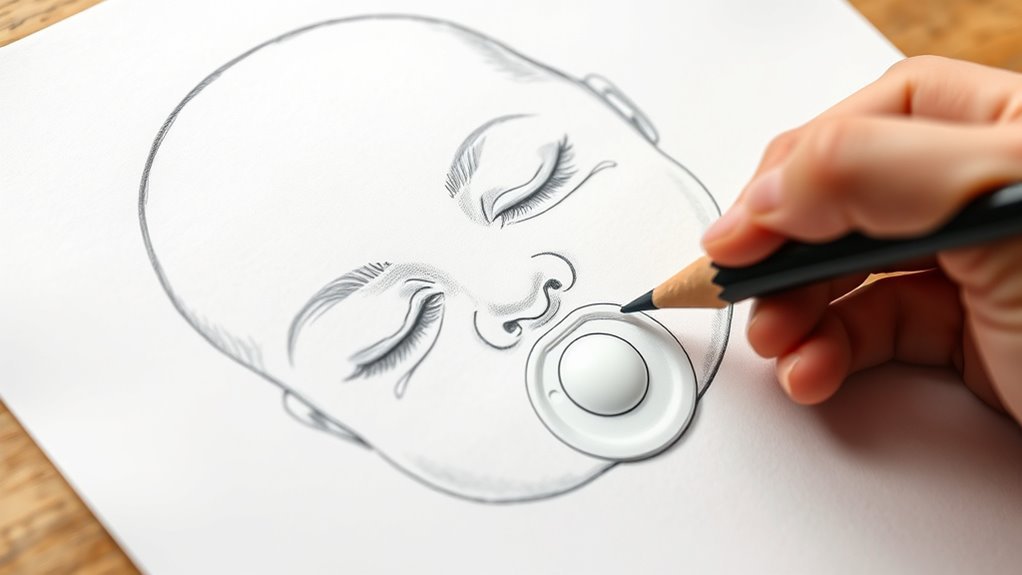
Before you add any details, start by sketching the outline of the baby’s head with closed eyes to capture a peaceful, sleeping expression. Let’s start by carefully drawing the nose next, keeping it soft and delicate.
Then, place a pacifier gently in the baby’s mouth, making sure it fits well with the face’s proportions. Position the baby’s arms and hands under the head to enhance that serene, resting vibe.
As you work, keep the lines light and smooth to maintain the softness of the baby’s features. Finally, refine the facial outlines so all elements—eyes, nose, and pacifier—blend together naturally.
This step sets the foundation for a calm, sweet baby face before moving on to more detailed features.
Outline the Baby’s Head Shape, Ear, and Hair Details
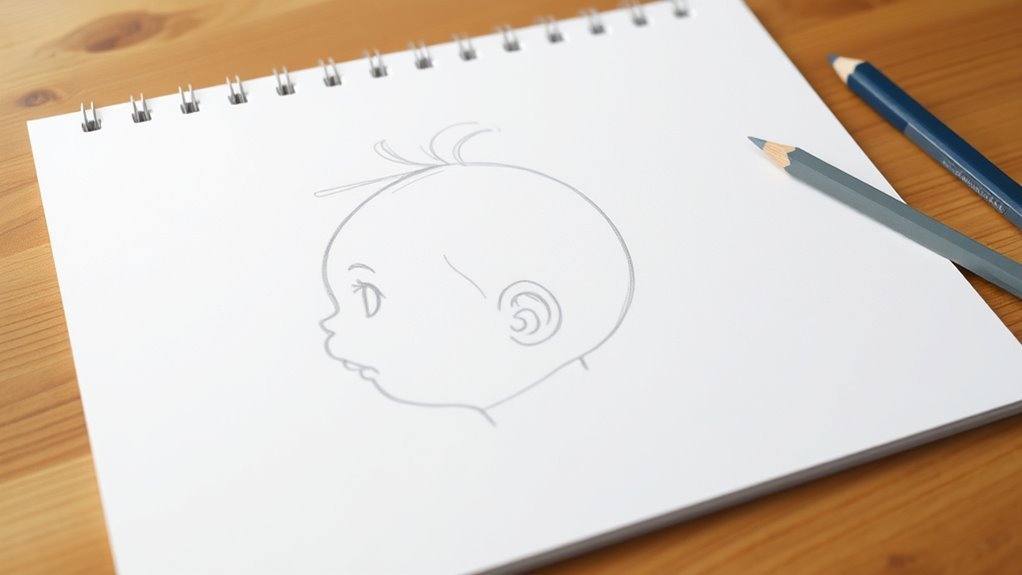
Start by sketching a soft oval to capture the baby’s head shape with gentle curves. Add a small, rounded ear that fits naturally on one side.
Then, draw simple, curved lines for the hair, keeping the hairline low and soft. It helps to keep things light and easy here.
Defining Head Contours
To capture the baby’s round features, sketch an oval shape for the head that’s slightly wider at the top. This shape sets the foundation for a soft, gentle appearance.
Next, add a small semi-circle on one side to mark the ear, positioning it around the middle of the head to keep it natural. Use gentle, curved lines to outline the hair, focusing on softness to reflect the fine, fluffy texture babies have.
Keep the head shape symmetrical by adjusting the outline as needed, ensuring it balances well with the body. Finally, refine the contours by lightly erasing any extra guidelines, so the head, ear, and hair stand out clearly and neatly.
This careful outlining defines the baby’s head contours effectively. It really helps bring out that delicate, tender look.
Adding Ear And Hair
With the head shape clearly defined, you can now add the ear and hair details that bring the baby’s features to life. Start by sketching a small curve on the side of the head, just above the midpoint, to form the ear. Keep it soft and subtle to match the gentle head shape.
Next, draw light, wavy lines for the hair, beginning at the top of the head and allowing them to flow naturally around the forehead. Vary your line thickness to add texture and depth, making the hair look more realistic.
Make sure the ear and hair stay proportionate to the head, ensuring everything looks balanced and cohesive. These details will give your baby drawing a charming, lifelike quality.
Gently Add Arms and Hands Under the Baby’s Head
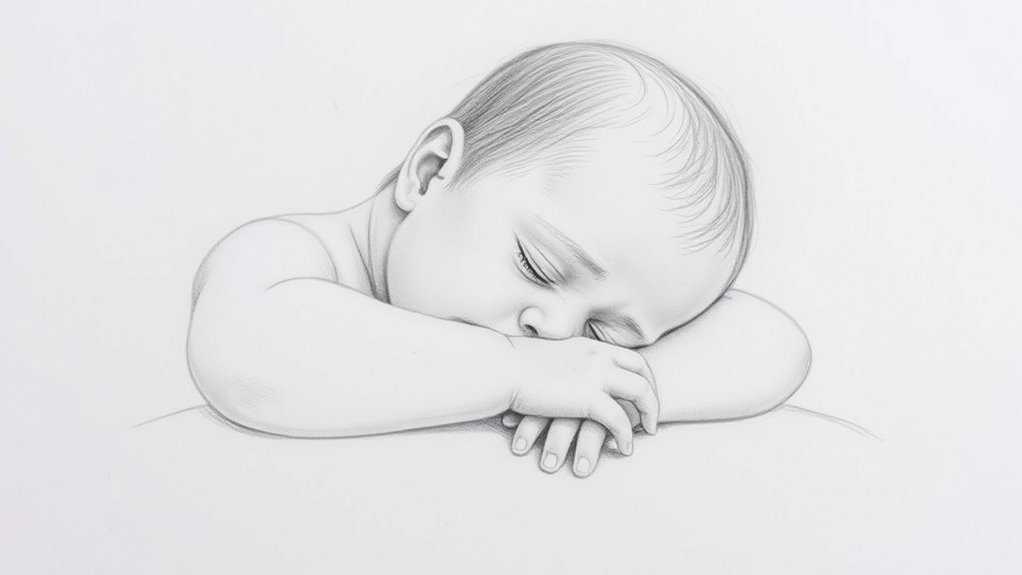
Sketch the arms gently extending from the sides of the baby’s head, making certain they’re proportionate and balanced. Position the hands so the fingers curl softly under the chin, creating a peaceful, natural look.
Use soft, rounded lines to capture the baby’s chubby limbs, enhancing the overall cuteness. Keep the arms symmetrical to maintain harmony in your drawing.
Soft, rounded lines highlight the baby’s chubby limbs, adding charm and ensuring symmetrical balance in your sketch.
Adding subtle shading can give depth and dimension, making the arms and hands appear more lifelike.
- Draw arms extending gently, proportionate to the head
- Position hands with slightly curled fingers under the chin
- Use rounded lines to emphasize chubby limbs
- Make certain symmetry for balanced composition
- Add light shading for depth and realism
Sketch the Baby’s Body, Legs, and Diaper Proportionally
Now that the arms and hands rest gently beneath the baby’s head, focus on shaping the body to match. Start by sketching a rounded body shape proportionate to the head.
Next, add simple cylindrical legs, spaced slightly apart for a relaxed pose. Draw the diaper around the lower body, making it a bit puffy to look realistic.
Always compare the body, legs, and diaper to the head to keep proportions balanced. Adjust as needed.
Create a Cozy Bed and Add a Heart Above the Baby
Begin by drawing a rectangular bed that fits comfortably beneath the baby’s body, keeping the size proportional to enhance the scene’s balance. Next, add a soft mattress with a blanket gently draped over one edge to make the bed look cozy.
Above the baby, sketch a heart shape centered perfectly to symbolize love and warmth. To add charm, consider these details:
- Use an aqua blue sheet to create a calming vibe.
- Add fluffy pillows for extra comfort.
- Draw subtle decorative patterns on the blanket.
- Keep the heart shape simple but noticeable.
- Guarantee all elements complement the baby’s size and position.
These touches will make your drawing feel inviting and full of affection without overwhelming the scene. Just imagine how cozy and sweet it will look!
Use Colors to Bring Your Baby Drawing to Life
Color plays an essential role in bringing your baby drawing to life, adding depth and emotion to every detail. Start with a cream color for the skin tone; it keeps your baby soft and natural-looking while blending well with other elements.
Use a cheerful yellow for the hair to add warmth and brightness. This makes your drawing more inviting and full of life.
Choose cheerful yellow for hair to infuse warmth and vibrancy, making your drawing feel lively and welcoming.
For the pacifier, combine dark blue on the body with light blue on the nipple to create appealing contrast. A lighter blue shade for the diaper adds a gentle touch, balancing the overall palette nicely.
Finally, apply a vibrant red to the heart above the baby. This bold color grabs attention and symbolizes love, enhancing the emotional connection in your artwork. It really brings that special feeling to your drawing.
Make Your Baby Drawing Clear and Fun to Color
Adding vibrant colors brings your baby drawing to life, but outlining it with a black marker helps make every detail stand out clearly. This step guarantees each part of your artwork is easy to see and color.
To keep your drawing both clear and fun to color, focus on balance and simplicity.
- Outline your baby and background with a black marker for sharp, defined edges.
- Keep proportions consistent between the baby, bed, and surroundings.
- Use a limited color palette—cream for skin, aqua blue for the bed sheet—to maintain simplicity.
- Add bold colors like red for the heart to create eye-catching focal points.
- Use playful shapes and vibrant hues to make coloring enjoyable.
These tips will make your drawing visually appealing and fun to bring to life with color.
Frequently Asked Questions
How to Draw a Baby Step by Step Very Easy?
Start by drawing a round head with closed eyes and a pacifier. Add ears and soft hair, then sketch arms under the head.
Next, draw the body, legs, and diaper. It’s easier if you take your time with each part.
Finish with a simple bed and color it softly. You’ll see your baby drawing come to life!
How to Do a Baby Step by Step?
You start by sketching the baby’s head with closed eyes, then add facial features, arms, and body.
Next, position the legs and diaper. Include background details like a bed and heart.
Finally, finish with colors for a balanced look. Easy, right? Just take it step by step!
How to Make a Child Step by Step?
You’ll shape a child like planting a seed—start with a circle for the head, add simple limbs, and sketch features that show innocence.
Embrace imperfections; each line symbolizes growth, capturing the spirit of childhood step by step.
How Should a 2 Year Old Draw?
You should let a 2-year-old use simple shapes and broad strokes, encouraging them to explore colors freely. Don’t worry about details or proportions; focus on fun and expression.
This way, you help boost their creativity and confidence. Just let them enjoy the process without any pressure.
Conclusion
Now that you’ve followed these steps, your baby drawing should feel as tender as a lullaby. You’ve captured the gentle curves, cozy bed, and sweet details that bring your little one to life.
Keep practicing, and you’ll find your skills growing just like a baby’s smile—bright and full of warmth. Remember, every stroke adds love and personality, making your artwork truly special.
Drawing a baby isn’t just about getting the shapes right; it’s about capturing that soft, innocent charm. With each attempt, your confidence will grow, and your drawings will become even more heartwarming.
So keep sketching, keep learning, and most of all, enjoy the process. Your baby drawing is ready to brighten any room and bring a touch of tenderness wherever it goes!






One Comment